Thursday, January 24, 2013

Quiet Book #12: Flash Cards Pocket


This is another self explanatory quiet book page. It has no other function than to hold a set of flash cards. I am constantly buying up the dollar section of Target's flash cards. What I love about this page is that it is for all ages. And whenever they get sick of one set or when you're studying a certain thing in your schooling, just swap out the flash cards for a new set.

In making this just be sure to pin it down while you have the flash cards in it so you make sure to allow enough room. You can decorate it up with ribbon or iron on patches but I wanted to keep it simple and use my plethora of ric rack. I just used Velcro for the flap.

Happy crafting and blessing to you!

Friday, January 18, 2013

Quiet Book #10: Apple Tree


Here is a super simple apple tree page. We are big into farm life out here because our friends own a farm and we always get to go pick fresh produce from them. They are the Markley Family Farm. (I also created their website for them) Anyways, we talk about where a lot of our food comes from and so this simple page was formed. All you really need to do is cut the shapes and see on. I chose to just make a simple basket instead of my more complex one from the laundry page I made earlier. Well, not much more to say but happy crafting. And blessing to you!

Quiet Book #4: Dinosaur Tags


Well, it's not rocket science to figure out how this one was done. This one is meant for the littlest of babies. Just cut small pieces of ribbon and your felt dinosaur shape. Pin it all down. Then sew, making really sure to get both sides of the ribbon. I even back stitched just to make sure they won't pull out. Super easy and I love the colorful ribbons. :) Happy Sewing.

Thursday, January 17, 2013

Playroom Transformation #1: Doll House Table

So this new year I want to reveal all the hard work I've been doing on our playroom.  I have been slowly working on some small projects that will each add to the overall awesomeness of the playroom.  We entertain a lot, so having a fun place for all the kiddos to play is a must.

Introduce-- Transformation #1: Doll House Table.

We have this little kids table that we picked up off the side of the street a while back. But it is super ugly. :(  So, time to spruce it up just a bit, so at least it doesn't stick out like a sore thumb. So, I picked out a fabric at Hobby Lobby. Got some glue and water to make a paste (cheaper to make your own than to buy the Mod Podge) and applied it onto the top of the boards.


Then put it on top as well.  Let it dry completely.


Stapled the underside and BOOM! And instant transformation.


Now just put on a super cute dollhouse (that you're little one just ripped a piece off of). She's like a monster I say!!


A simple fix. Still not the best looking table but such a simple, cheap thing that makes a world of difference. The original primary blue was just not working with my color scheme at all. Plus, now it looks like her house has a nice green lawn all year round. :)


Blessings to you!

Sunday, September 2, 2012

Quiet Book #11: Button Flowers

Here is the 11th page in my quiet book adventure.  I'm on a mission to make a memorable book for Kara (and eventually Emma) that they can cherish for a lifetime.  I remember how much fun I had with my bible quiet books as a kid and now I can appreciate my mom's hard work making them!  For this page first cut out whatever kinds of flower shapes you want: Tulip, Daisy, etc.  Then as you can see in the photo below, you need to sew on the middle, and sew a long rectangular box (size it by the button you plan to use) , then cut a line in the middle.  This will become your button hole.


Pin where you want the flowers placed on the page. Then I removed one at a time. Marked where the middle of the flower was with a piece of pink chalk, just enough to see it.  Then I just started at the bottom line which I was going to add grass on at the end and started a zig zag stitch at the widest width on my sewing machine.  I set it so it wouldn't even move it.  So, as it stitched once I felt it was think enough I would slowly move it along.  I stitched all the way up to the top where I placed my chalk mark.  Try to add some bend into it.  You don't want it to be so straight and unrealistic.


Sew on a button (make sure you check that it fits through the hole you made!!) I made sure to use buttons that were all of similar sizes so the flowers could easily be interchanged.


Last, cut out a piece of grass felt and sew it on, covering up all the end of your flower stems, making it look so clean and nice.  I decided to just stitch a rectangle on the bottom of the grass that way the girls could make the grass stand up.  Kind of fun I guess, maybe not.  Either way it adds just another little element to the page.


And here you have it, another beautiful page of flowers that interchange.  A great task for building up those fine motor skills.  Note: you can make the holes smaller on flowers making it more difficult for the older kids, or larger and easier for the toddlers. Have fun and God Bless!


Thursday, July 12, 2012

Kitchen Tower

So, am I the only mom who has realized it's hard being pregnant and holding a toddler up to wash their hands in the sink?!  I never realized but I held her on my stomach while I helped rinse off her hands.  And with my belly growing bigger by the day this was not going to cut if for long.  So, 'a researching we go, a researching we go'...(sing with me).

I looked up the safest kind of step stool and realized their really isn't a safe kind of step stool.  They all have the potential of my child stepping to the side or back and falling and cracking her head open (yes, I'm a worst case scenario kind of person). Even ones with the handle bars on the sides didn't give me enough peace, and that's when I found......the kitchen tower.  

Some brands call them the learning tower, some the kitchen tower, but really it's just a 'help mama' tower.  These are towers designed to keep the child at counter heights, without the risk of them falling back.  I love them!!  But I did NOT love the price tag!  Saving for baby number 2, so 'a researching we go, a researching we go'....(come on, you know your humming it).  I ended up finding this amazing blog, which had a pattern to follow!!  They are so generous to give away the design for free and I always give credit where credit is due, so a big shout out to Ohdeedoh.  

My husband went and bought the tools he needed (an investment for my growing list of things for him to build, now that's he's proved himself with this tower, lol) and the supplies.  Two days later, here Kara is dancing inside of it while Daddy is finishing up sanding it down.


I still haven't decided what color I'm going to paint it, but all the same, it works!!  It's awesome and now Kara is not only washing her hand by herself, she is helping mommy clean dishes and prepare lunch and dinner.


A couple things to mention about the design: Yes, this tower is HUGE!  It ended up even bigger than what I thought, but since our kitchen is pretty big to begin with it doesn't bother me in the slightest, but this is something to be aware of before you get started. Also, we added some foot gliders on the bottom, so we can slide it in and out of the way really easy.  We also added an extra height option to it.  The pattern showed 3 but I didn't think she'd grow in such huge spurts, so we spaced out and added another.  But didn't think about the fact that it would block the step holes when it was in the 2nd to highest position.  See what I mean: okay the image doesn't show it the best but the flat square cuts through the foot hole on top.


But really it doesn't matter to us because our Kara doesn't even use the foot holes, she just climbs over  the side.  So, I wonder if the steps are even necessary?  I'm also thinking of adding a dry erase board to the back side, just so she won't fall back accidentally and for extra fun in the kitchen.  I'll post pictures once we ever do that.  

Quiet Book #9: Dog House

This quiet book page I am really excited about.  This is going to be a dog house page, which will have a few different breeds of dogs she can choose from to put in the dog house, feed him his food or give him his bone when he does tricks.

Here's the pieces to get you started: green grass, bone (2), dog dish, food, dog house, triangle roof, dog house door, a box and lid for storing dogs and a piece of ribbon (not shown).


First, I started cutting the grass.  I didn't want to spend too much time but I thought a little effort would make it more cute than just a rectangle patch of grass.  I cut the green the height I wanted it on the page, leaving tags sticking out every so often.  Then I simply went back in and snipped the tabs at angles and this is what I came out with:


See the difference?

Next, you need to prepare the bone.  First, I glued on the ribbon to one side of the bone. Let it dry completely.  Went back and sewed the matching bone on top.


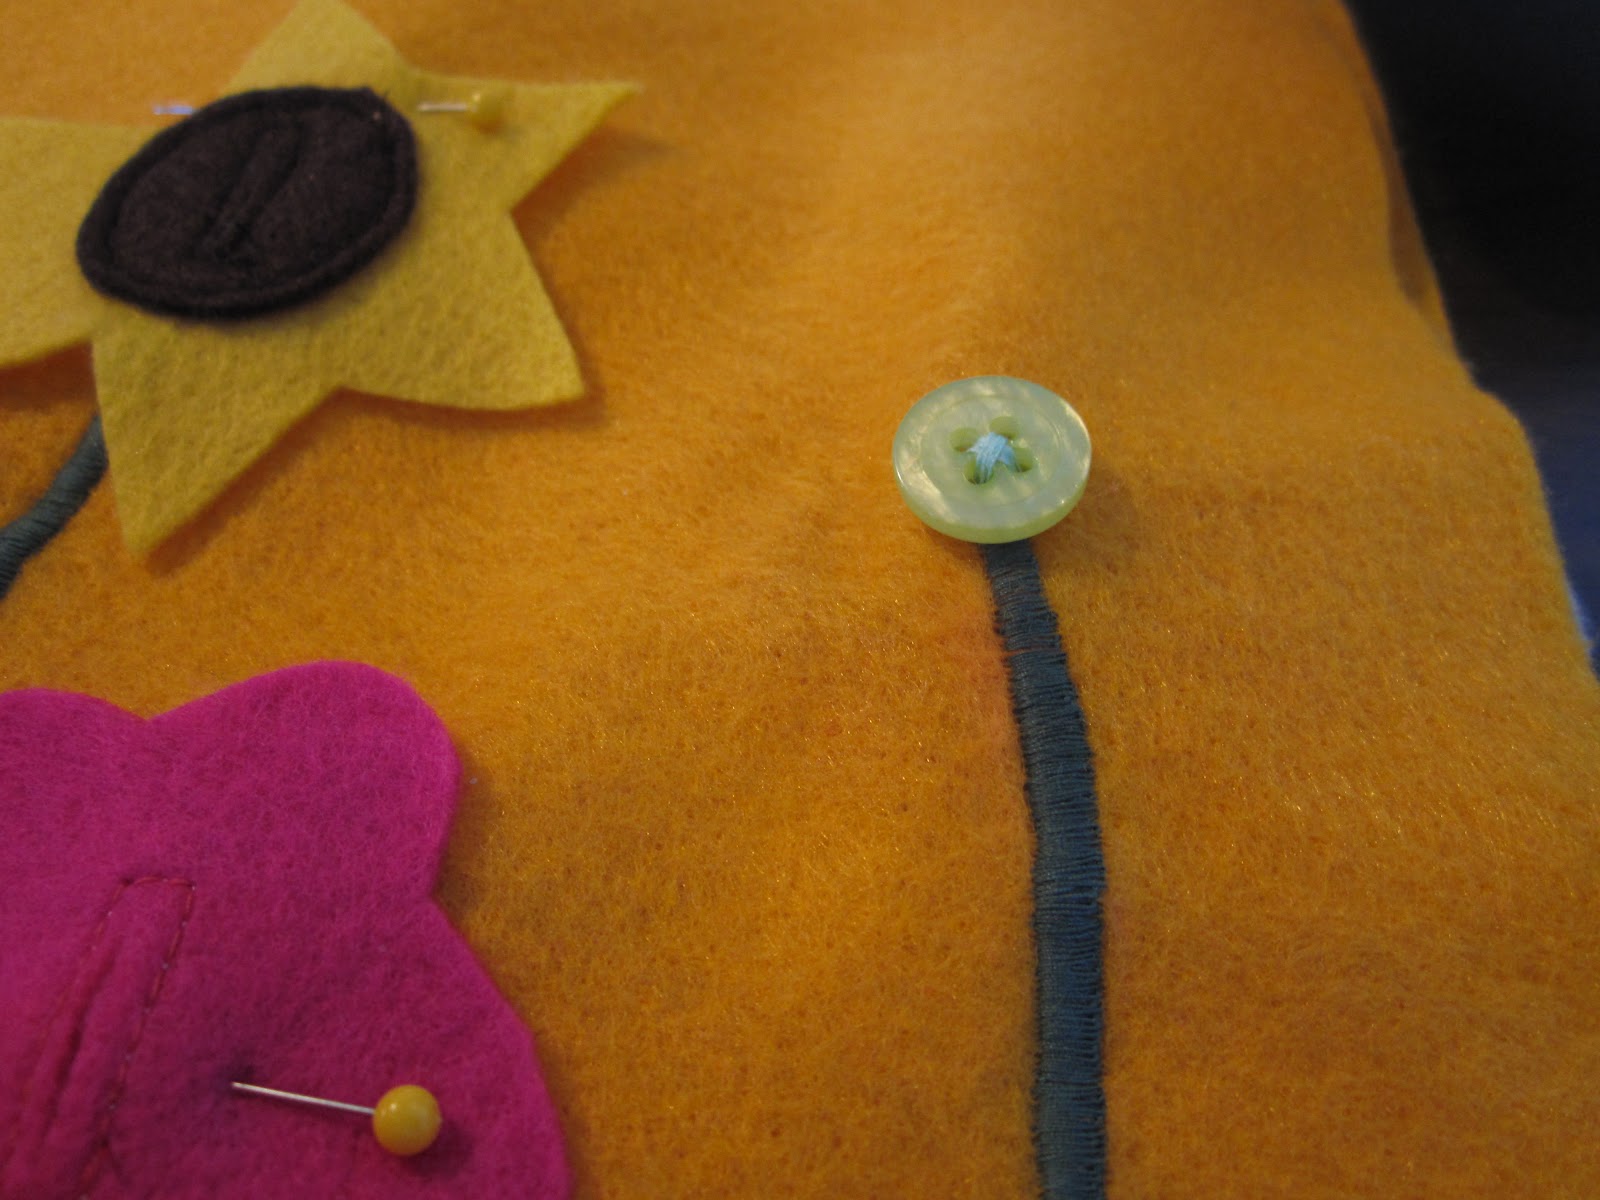
Then you just start sewing everything on the page.  First the grass, then place out the dog house, dish and storage box.  Make sure you have everything in place where you like it. Pin it.  Then place the ribbon under the right side of the dog house and sew over it as you sew on the dog house (actually I think I even glued it ahead of time a little bit just for added reinforcement).  Next sew on the door and roof to the house.


Next, glue the dog food into the dish using your felt glue. (once again I'm making 3 matching pages instead of just one, that's why you see 3 dishes. You only need 1 unless your dogs are extra hungry)


For added dimension I only sewed on the dish and not the food, so they can lift it up so it's kind of 3D because I figure they won't always hold their dog flat on the page.


Then, you need to sew on the box.  Just sew the bottom and edges of the rectangle. Leave a gap for the lid and sew that in place on the top.  No button needed here because there won't be any small parts.  I'm going to only make 3 dogs I believe.  Haven't made them yet but I'll post that when I get it done.  So, much to do before Kara's 3rd birthday.  I'd love to have these pages done and bound for her gift. Pray for me :)


Here's the final page: (with added felt doggies and tennis ball- post to follow on this new awesome way to add more detail to your quiet book)


Happy crafting!