
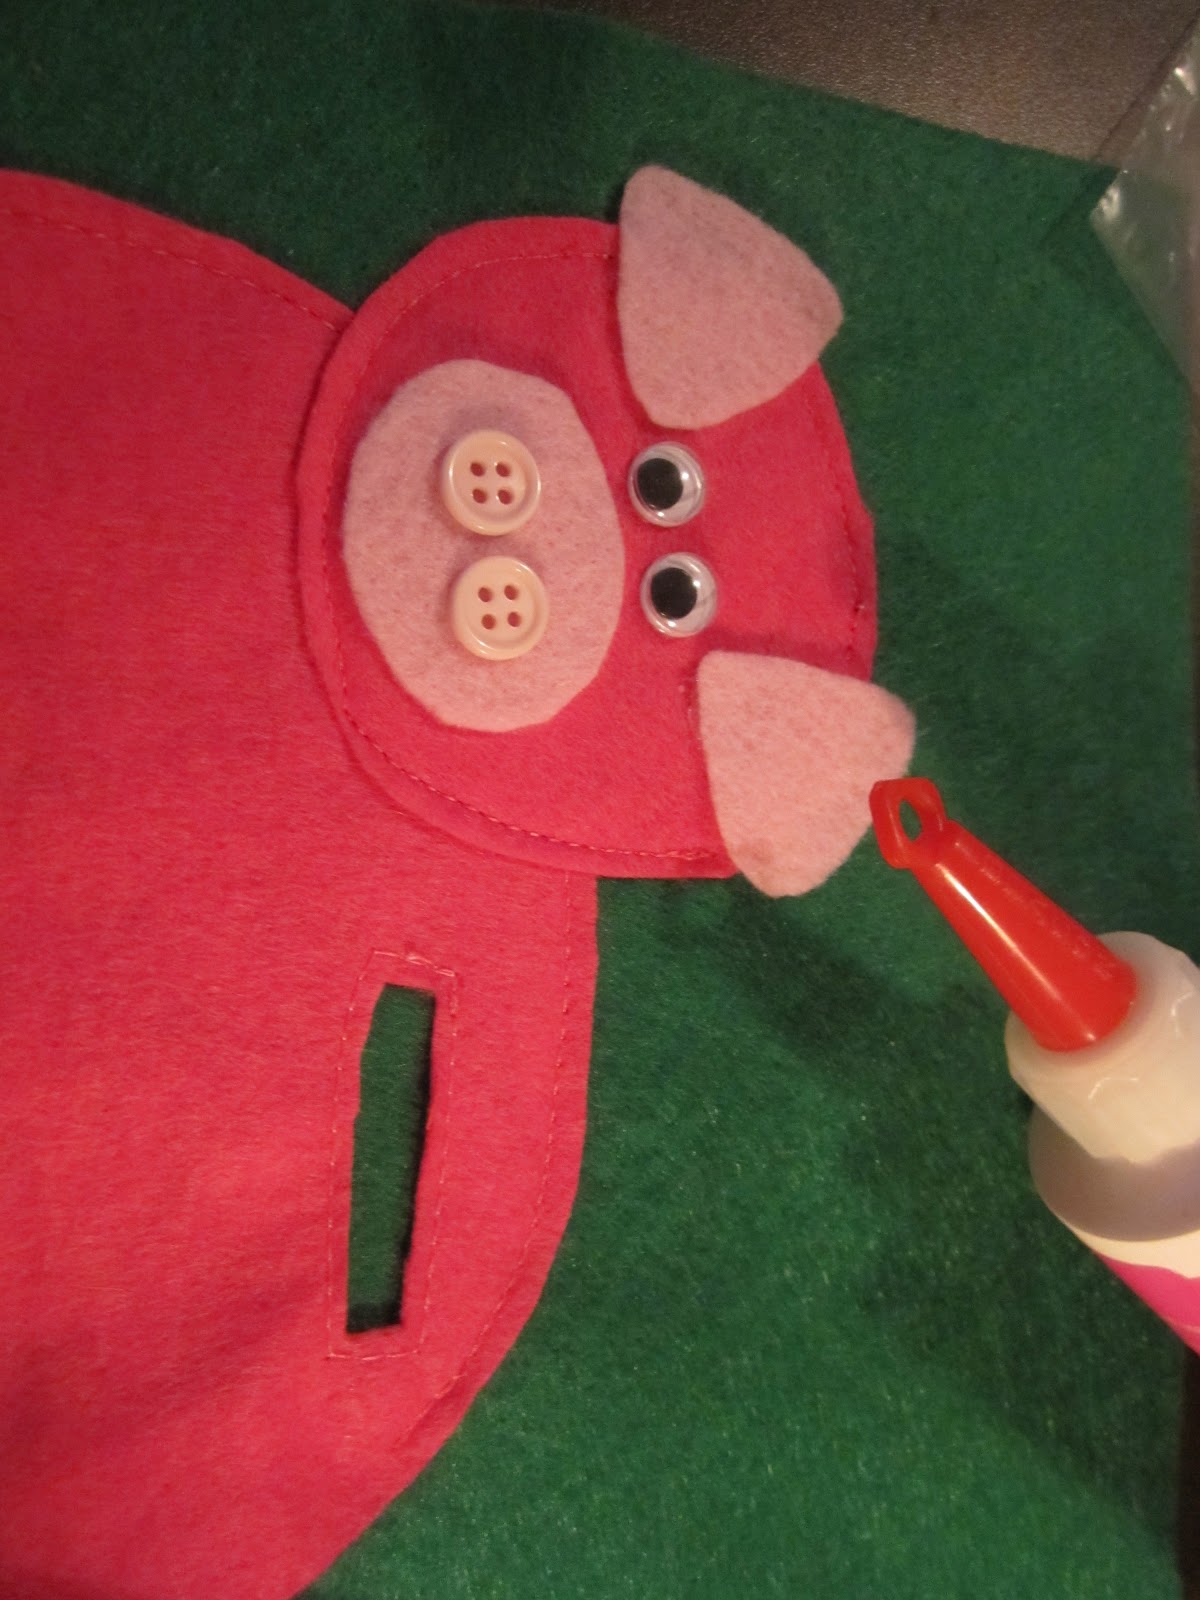
Here's the Piggy Bank page. I had a lot of fun making this one and I love that she can place the coins in and get them out. Here's the final product, despite his cross eyed eyes:

I just looked at a few bank pages online and then just started creating my shapes on my own. Overall I think it turned out good. The pieces you will need are: head, two ears, two eyes, nose, 2 buttons, body, four legs, two of which are short, and four hooves.

First, I glued on the top legs.

Next, I stitched around the opening to prevent it from stretching as the kids play with it.

Glue boxes of velcro on the back side where you want it to open.

Place the other side of the velcro on, so it will line up perfectly.

Pin down the pig and pin up the part with velcro so you can place glue on it later.


Here is the final page again for you to see. Don't forget to add a curly tail. I just placed it under the flap that opens to get the coins out. I was trying to find the curly shoelaces but they cost a fortune, so I opted for a felt curly tail.
Hope you enjoy! My girls love the playing with the plastic coins with their pig.
Happy Crafting and God Bless!
Heather Joy
No comments:
Post a Comment