

I painted the trim with just some acrylic paint. I was not looking for perfection and I wanted it to have an aged look, since I knew it wasn't going to be perfect. So, after I painted it I actually sanded it a bit to give it that worn look.

Next, I took my roll of heat and bond and ironed it around the edges and a strip in the middle.


I sewed it together.

Then all you have to do it start ironing it on once you have it lined up.

Some pointers when ironing it on:
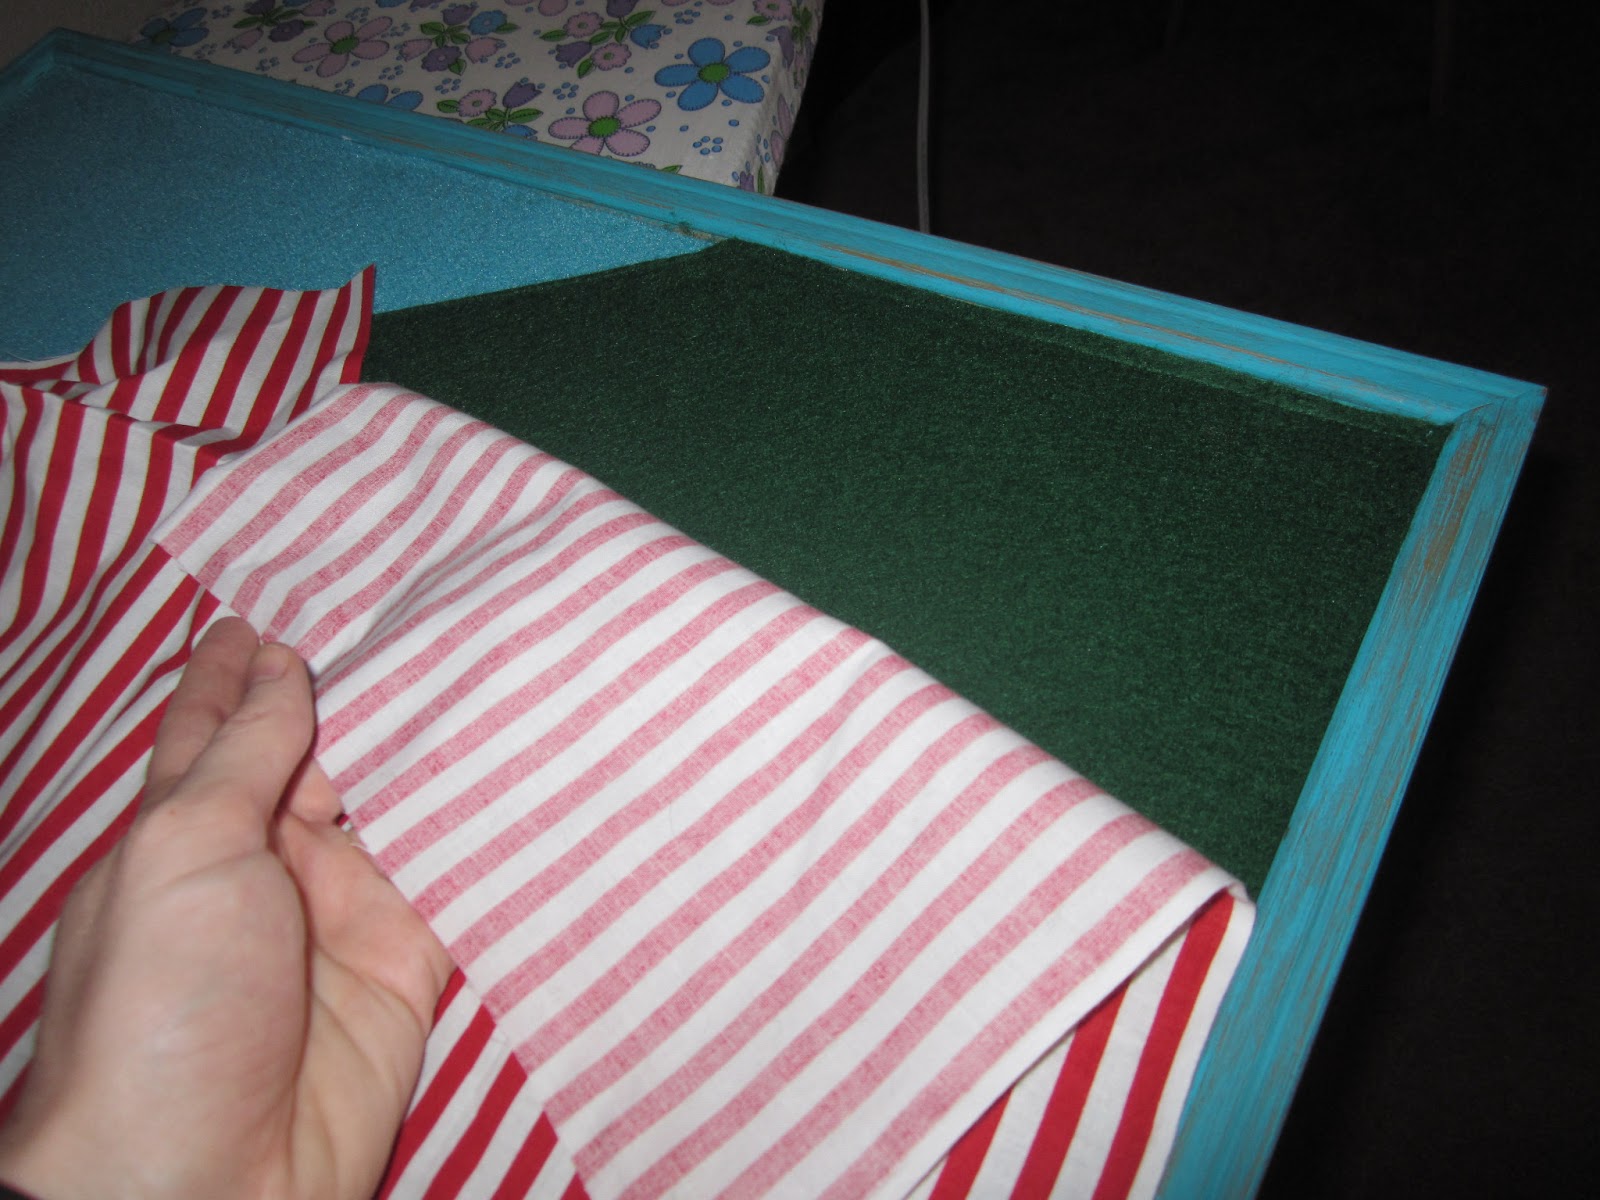
-Use a thin cloth over it so you don't accidently burn the felt.
-Don't rush. It takes a little bit of time making sure every portion of the heat strip actually adhered to the felt.
-Make sure the felt doesn't move while your doing it. But on the plus side, felt can stretch, so if you end up having a gap just try to stretch the felt as you iron.
And there you have it: A fun corkboard re-purposed into a flannel board. Now, bust out that fairy tale felt pieces and let the kids play!
Happy crafting and God Bless!
Heather Joy
No comments:
Post a Comment